
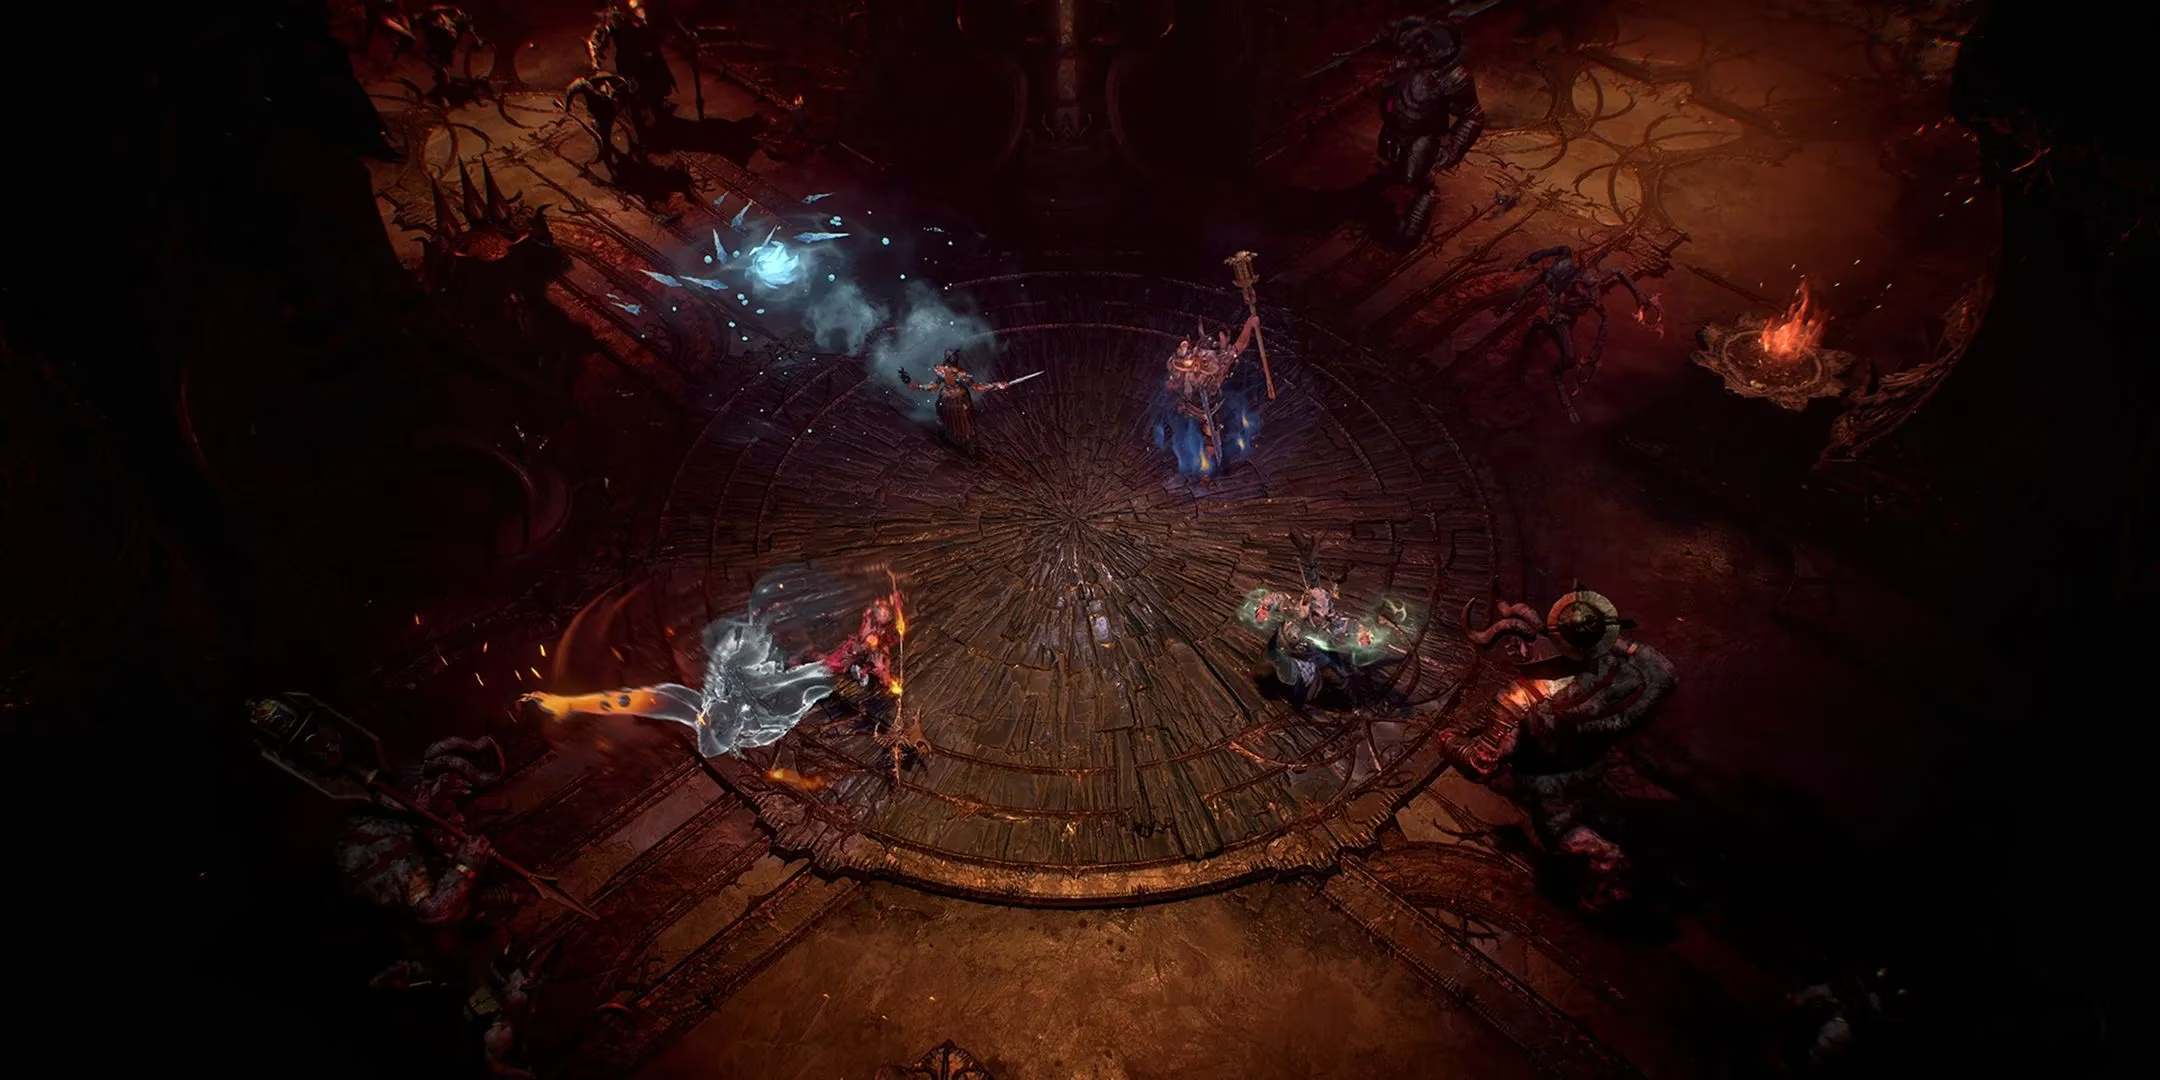
Let’s be real for a second—how many times have you stared at that Dark Citadel entrance, all geared up and ready to grind, only to realize you have no one to actually play with? Yeah, I’ve been there too. Back before Vessel of Hatred dropped, grouping for endgame content felt like trying to organize a flash mob in a library. You’d spam trade chat, hop between Discord servers, or just give up and run Helltides alone… again. But now? Now we have the Party Finder, and it’s a total game-changer. It’s 2026, and if you’re still not using this tool to its full potential, you’re leaving loot, cosmetics, and precious time on the table.
This nifty feature arrived with the Vessel of Hatred expansion and has only gotten better with patches over the last two years. Whether you’re aiming to clear the Dark Citadel wings, grind bosses for Mythic Uniques, or just find a chill group for Nightmare Dungeons, the Party Finder is your best friend. So grab your gear, summon your inner wanderer, and let me walk you through everything you need to know—from basic mechanics to sneaky tricks that even some veterans miss.
🎮 How to Open the Party Finder
First things first: you need to know how to actually bring up the interface. It’s not buried in some obscure menu, but if you mostly play solo, you might have overlooked it completely.
-
On PC: Press Shift + P and the Party Finder window pops right up. Quick and dirty.
-
On console: Hold X (PlayStation) or Square (Xbox) from the Social menu. You can open the Social menu via the main pause screen.
Ever since a QoL update in late 2025, you can also map the Party Finder to a custom keybind on PC, which I highly recommend if you’re constantly hopping between groups. Just head into Options → Controls and scroll down to the Social section.
🔍 How to Join a Party (Without the Awkwardness)
Let’s say you’re itching to finally conquer the Realmwalker’s lair or need a team for Uber Lilith carries. The “Find a Party” tab is where you scan the field like a seasoned mercenary.
Here’s what you’ll see when you open it:
-
A list of active parties, each showing the type of content (e.g., Dark Citadel, Boss Ladder, Infernal Horde).
-
How many players are already in the group and the desired party size.
-
Labels that give you the real tea: are they farming repeatedly? Are they a “chill group” or a “speed farm” squad? Crucially, you’ll spot a “Learning/First Time” label—a godsend if you’re new to a raid wing and don’t want to get flamed for standing in a death puddle.
All you do is browse, find a match, and hit the “Join Party” button at the bottom. BAM—you’re in. No need to introduce yourself in some awkward chat unless you want to.
But wait, what if you’re the one who wants to set the rules? That’s where the real power lies.
⚔️ How to Create Your Own Party (Be the Leader You Wish to See)
Sometimes the perfect group doesn’t exist—you have to will it into being. Creating a party is dead simple, but customizing it right makes all the difference.
-
Open the Party Finder and switch to the “Create a Party” tab.
-
Select your activity. The list has grown huge since launch; you can now even pick specific Torment levels and individual uber bosses.
-
Choose whether to limit the party to base game or expansion content only. This is handy if you’re helping a buddy who doesn’t own Vessel of Hatred.
-
Pick your labels. You can combine them! My go-to for high-end content is “Repeat Runs” + “Quick Clear” so everyone knows we’re there to sweat a little. Conversely, if I’m just caffeinating and want to vibe, I’ll slap on “Chill” and “First Time Welcome.”
-
Hit “List a Party” and watch the applications roll in.
Pro tip from 2026: you can now add a short custom note to your listing (up to 40 characters). I always write something like “Bring mats for Duriel” or “Mic optional — just don’t die to lasers.” It filters out people who can’t read, which is sadly more than you’d think.
🚪 How to Leave or Delist a Party (Please Don’t Ghost)
This is the part that trips up even experienced players because, for some reason, you don’t do it from the Party Finder window. I’ve seen so many people stuck in a group they didn’t want to be in, frantically clicking around.
Here’s the secret sauce:
-
Open the Main Menu (Esc on PC, Options on console).
-
Navigate to the Social tab.
-
If you’re a member: select “Leave Party.”
-
If you’re the leader: select “Delist Party” to remove your listing and disband the group.
Remember, leaving a party doesn’t automatically delist it if you’re the leader—your listing will just keep hanging there like a ghost, collecting requests until you manually delist. I learned that the hard way back in Season 6 when random players kept joining my empty group while I was trying to sort my stash.
💡 Why the Party Finder Matters (Even in 2026)
You might think, “Okay, but I can still just LFG in chat, right?” Sure, if you enjoy screaming into a void. The Party Finder changed the social fabric of Diablo 4 for the better. With the Dark Citadel still being a premier source for unique transmogs and the occasional Resplendent Spark, having a reliable tool to form teams is non-negotiable.
And think about the new Abbatoir of Zir revamp or the seasonal Gauntlet—both have leaderboards where premade coordination is key. The Party Finder saves you from the “friend clutch,” where your buddies are either offline or already in a full group. It’s the great equalizer for solo players who want to dip into multiplayer content without the commitment of a clan.
Now that we’re deep into the expansion lifecycle, the community has organically settled on labeling etiquette. Parties marked “Learning” are genuinely patient. Groups labeled “Speed Farm” will kick you if you’re looting every yellow item. Knowing these unwritten rules helps you find your tribe faster.
🕹️ A Few Final Tricks for 2026
-
Quick join via map: If you open the map while in a party hub (like Cerrigar), you can sometimes see nearby listed parties as icons. Clicking them opens the join prompt directly. Works on PC and console.
-
Voice chat indicator: Since the mid-2025 update, a small microphone icon appears on listings where the leader has opted into in-game voice. If you hate typing, look for that.
-
Language filter: Under Social settings, you can filter party listings by language, which is a lifesaver on region-locked servers. No more joining a “German only” group and embarrassing yourself.
So next time you’re gearing up for a new season, don’t be a lone wolf who burns out grinding the same trivial content. Fire up the Party Finder, be clear about your goals, and watch your friend list—and stash—fill up with good times. After all, Sanctuary is a dark enough place; why stumble through it alone?